
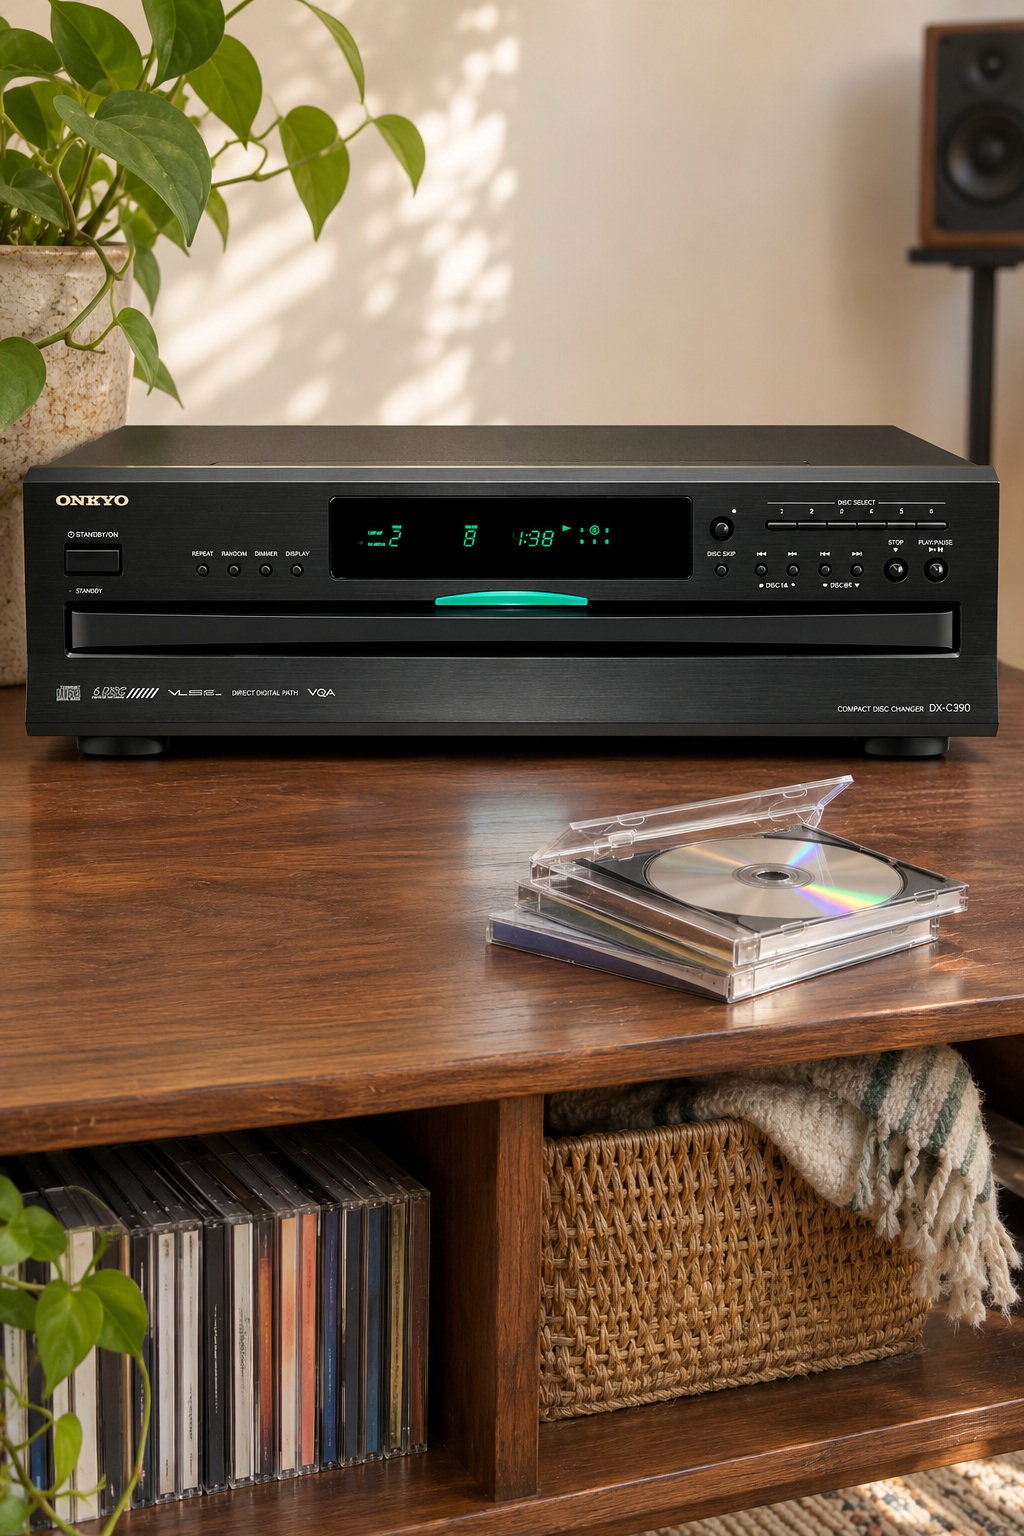
The Onkyo DX-C390 holds six CDs and lets you change up to five while the sixth keeps playing. It connects to a stereo receiver or to compatible powered speakers. Check your audio inputs and available shelf depth before buying, especially if you’re replacing a much smaller single-disc player.
As an Amazon Associate I earn from qualifying purchases.

Which connection should you use?
Receiver or integrated amp with line inputs. Run the stereo RCA cable from the changer’s analog output to a line-level input such as CD or AUX. Start with the receiver’s volume low.
Powered speakers with a line input. Use RCA or the appropriate RCA-to-line-input cable. Adjust listening volume with the speakers’ own controls. For passive speakers, connect the changer through a receiver or amplifier.
Receiver or DAC with a digital input. Use either optical or coaxial digital audio, depending on the input you have. The Onkyo manual shows the rear connections and included analog cable.
Will the carousel fit your shelf?
The chassis is about 17⅛ inches wide, 17 inches deep, and just over 5 inches tall. Leave extra room behind it for plugs, follow the manual’s ventilation guidance, and allow enough room in front to open the tray and remove CDs. Measure the inside of your cabinet before ordering.
Who gets the most from six slots?
The changer is useful if you like lining up albums for a long listening session. You can also cue the next track or disc with Next Selection. If you mainly revisit one album at a time, compare the extra shelf space and cost against a single-disc player.
Expanding the collection? See what’s in the four-CD Charlie Brown Christmas box.
Comments
One response to “Onkyo DX-C390 CD Changer | How to Connect It to Your Speakers”
[…] For a living-room stereo with a stack of albums, see how the Onkyo six-disc changer connects to speakers. […]