
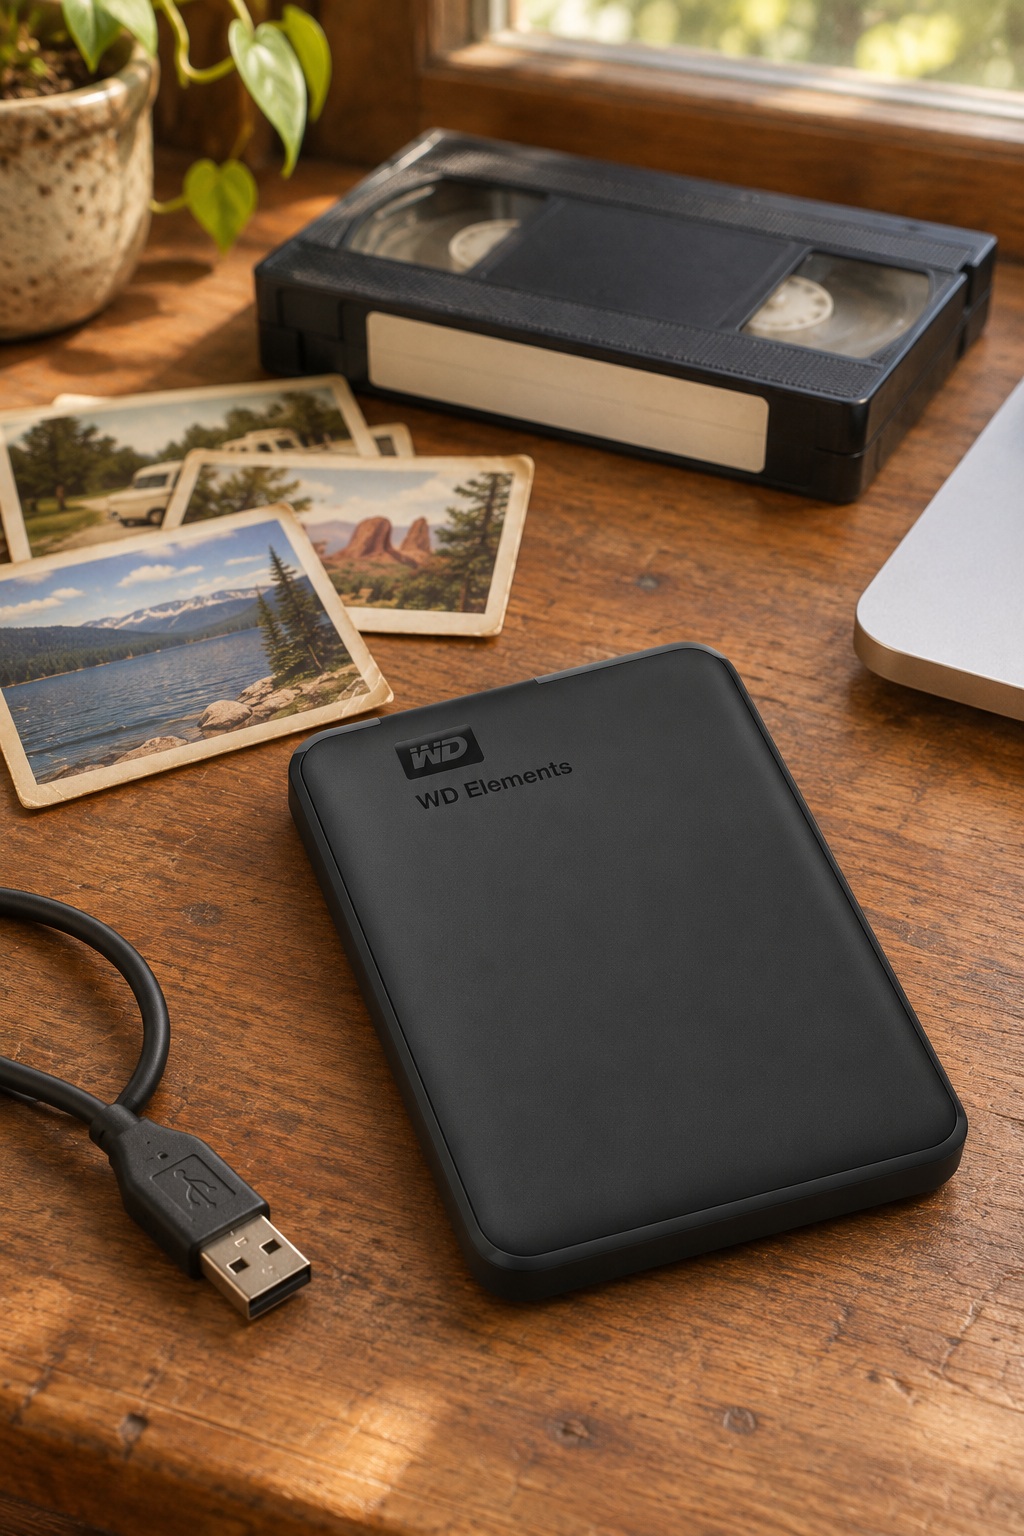
After digitizing VHS tapes and scanning old photos, keep your working files on the computer and make a second copy on separate storage. The WD Elements 5TB portable drive is one option for a growing archive. Check how much space your own files use before choosing a size.
As an Amazon Associate I earn from qualifying purchases.

Estimate capacity from the files you actually made
Measure the folder with your first batch of movies and scans. If 10 representative tape transfers total 25 GB, for example, 100 similar transfers would take about 250 GB. Add your photo folders and room for new scans. File sizes vary with recording length, resolution, and export settings.
A smaller drive can be enough for a few albums and tapes. The 5TB model is worth considering when you have a larger video archive or plan to back up other files alongside it.
Check your ports and file format
This WD Elements model includes a USB-A cable and ships formatted for Windows in NTFS. If your computer only has USB-C, plan for a compatible data adapter. For a drive you’ll write to from both Mac and Windows, consider exFAT. Copy any existing data off the drive before reformatting since the process erases it.
See the exact drive’s specifications and Apple’s drive format guide.
Test your copies before shelving the originals
Open several photos and play a few clips directly from the drive. Check that the videos have sound and that the file count matches the source folders. Keep another copy in a separate location or in cloud storage, in line with the Library of Congress guidance.
Still working through the originals? Start with the VHS transfer guide or the family photo scanning guide.